A clogged dryer vent duct may seem like a minor issue, but it can pose serious risks. From fire hazards to higher energy bills and longer drying times, neglecting this part of your home can cost you in more ways than one. That's why cleaning the dryer vent duct is a task every homeowner should take seriously.
But what's the best method for getting it done, safely, effectively, and without professional help? Here, we'll explain step-by-step how to clean your dryer vent duct at home, why it matters, what tools you'll need, and how often to do it.
Why Cleaning the Dryer Vent Duct Is So Important
Before we explore the best cleaning methods, it's important to understand why this task matters:
1. Fire Prevention
Lint is highly flammable. Each year, thousands of house fires are caused by clogged dryer ducts filled with lint. Regular cleaning helps prevent this dangerous buildup.
2. Better Efficiency
A clean dryer vent allows hot air to flow freely. This means clothes dry faster, saving energy and reducing wear and tear on your appliance.
3. Lower Energy Bills
When your dryer runs more efficiently, it uses less electricity or gas. That means lower energy bills over time.
4. Longer Appliance Life
Dryers that don't have to work as hard tend to last longer, helping you avoid expensive repairs or early replacement.
Signs Your Dryer Vent Needs Cleaning
Not sure if your duct is clogged? Watch for these common warning signs:
-
Clothes take longer than usual to dry
-
Dryer feels hotter than normal during a cycle
-
Burning smell while the dryer is running
-
Lint buildup around the dryer vent or outside exhaust
-
The vent hood flap doesn't open properly
If you've noticed one or more of these symptoms, it's time to clean the dryer vent duct. However, if you need the Best Services for Dryer Vent Cleaning in Canton, contact MMI Home Improvement Pro.
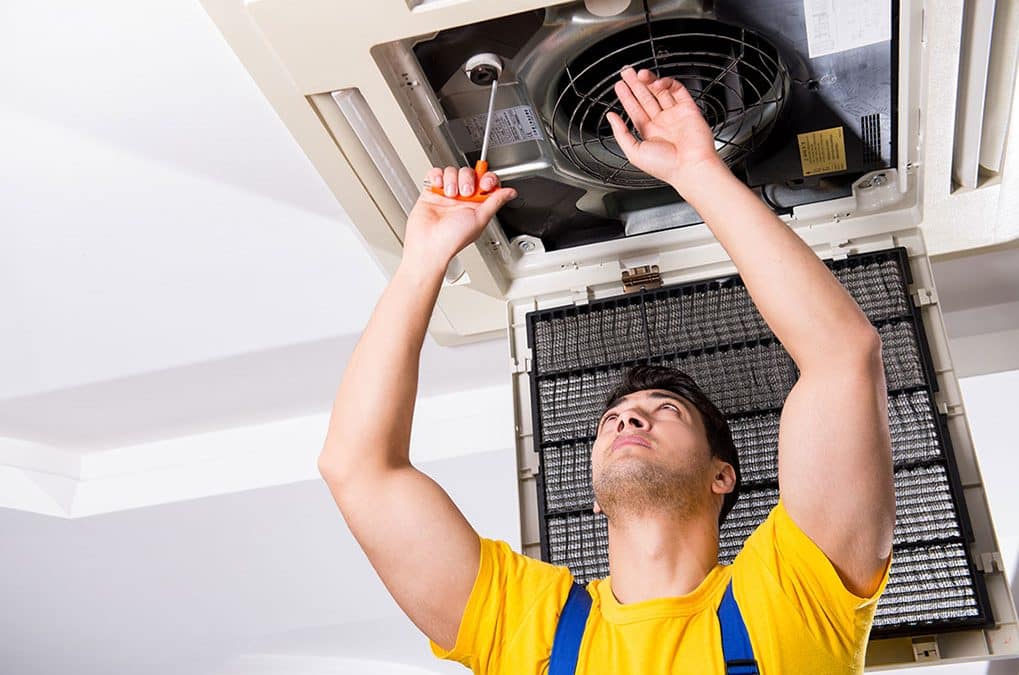
Tools You'll Need for Cleaning the Dryer Vent Duct
Cleaning the dryer vent duct doesn't require many fancy tools. You can do it with:
-
Vacuum cleaner with hose attachment
-
Dryer vent cleaning brush kit (available at hardware stores or online)
-
Screwdriver (to remove clamps or covers)
-
Face mask and gloves (for safety and cleanliness)
-
Flashlight (to inspect tight spaces)
-
Duct tape (optional) to reseal any loose connections
Step-by-Step: Best Method for Cleaning the Dryer Vent Duct at Home
Now let's walk through the process step by step. This method is safe, simple, and effective for most homes.
Step 1: Unplug the Dryer and Pull It Away From the Wall
Safety first. Always unplug the dryer before you begin. If it's a gas dryer, also turn off the gas valve.
Carefully slide the dryer away from the wall to access the back. Be mindful of the vent hose, electrical cord, or gas line.
Step 2: Disconnect the Dryer Duct
Use a screwdriver to loosen the clamp holding the vent hose to the dryer. Remove the hose gently, and be prepared for the lint to spill out.
If the duct is fastened to the wall or floor with a clamp, remove that as well.
Step 3: Vacuum Out the Lint
Use the vacuum hose to suck out lint from both ends of the vent duct—at the dryer and the wall. If your vacuum has a brush or crevice attachment, use it to reach deeper inside.
Step 4: Use a Dryer Vent Brush
This is the key step for a deep clean. A dryer vent cleaning brush features a long, flexible handle that allows you to push through the duct and loosen stuck lint. Feed the brush into the duct from both ends, turning it as you go.
Many brush kits come with extension rods, allowing you to reach through the duct, especially if it vents to an outside wall or roof.
Step 5: Clean the Outside Vent
Go outside and locate your dryer vent outlet. Remove the cover and check for lint buildup or trapped debris. Use your brush or vacuum to thoroughly clean this area.
Make sure the flap or screen opens freely. If it's stuck or broken, replace it.
Step 6: Reattach the Duct and Plug Everything Back In
Once everything is clean, reattach the dryer duct to both the appliance and the wall. Use a clamp or duct tape if needed to create a tight seal. Then, push the dryer carefully back into place. Plug the dryer back in or turn the gas valve back on.
Step 7: Test the Dryer
Run the dryer on a short cycle to make sure air is flowing properly through the duct. Go outside and check if air is coming out of the vent. If you feel a strong airflow, the cleaning was successful.
Read Also: Why Do You Need Professional Post-Construction Cleaning Services?
How Often Should You Clean the Dryer Vent Duct?
Experts recommend cleaning the dryer vent duct at least once a year. However, you may need to do it more often if:
-
You use the dryer daily
-
You have pets that shed
-
Your duct is long or has many bends
-
You notice signs of lint buildup
Set a reminder to inspect and clean the duct every 6–12 months for safety and performance.
Useful Tips for Safer Drying
In addition to regular cleaning, here are some helpful tips to keep your dryer running safely and efficiently:
-
Clean the lint trap after every load
-
Don't overload the dryer—it strains the motor and increases lint buildup
-
Avoid using plastic or foil vent hoses—use solid metal ducts for better airflow and fire resistance
-
Check behind the dryer often for loose connections or lint buildup
-
Have your dryer professionally inspected every few years, especially if it's older
When to Call a Professional
While cleaning the dryer vent duct at home is doable for most people, there are times when hiring a professional is a smart choice:
-
You're unable to reach the entire length of the duct
-
The duct vents through the roof or attic
-
You notice damage or holes in the duct
-
You want peace of mind with a thorough inspection
Professional dryer vent cleaners have special tools and cameras to ensure your system is fully cleared of blockages and safe to use.
Summary
Cleaning the dryer vent duct is one of the most important home maintenance tasks, yet it's often overlooked. A clean vent means safer drying, faster laundry times, and lower energy bills. The best method for cleaning the dryer vent duct at home is simple: unplug the dryer, disconnect the hose, vacuum and brush the duct thoroughly, and clean the outside vent. This method doesn't require expensive tools and can be done in under an hour. By taking the time to clean your dryer vent regularly, you're not only improving its performance but also helping to prevent fires and extend the life of your dryer.
Comments on “What's the Best Method for Cleaning the Dryer Vent Duct at Home?”